Smart Pill Dispenser
An ESP32 medication reminder that combines a seven-day pill organizer, real-time scheduling, and paired visual and audible prompts.
Remembering a dose is easy to take for granted. For an older adult living with dementia, however, a missed reminder or an uncertain memory can lead to a skipped dose or to taking the same medication twice. I built the Smart Pill Dispenser as a physical reminder that makes the correct day visible, calls attention to a scheduled dose, and waits for the person to confirm that they have taken it.
The project brings mechanical design, additive manufacturing, electronics, and embedded software into one prototype. The complete design files, firmware, component tests, and Wokwi simulation are available in the Smart Pill Dispenser GitHub repository.
Designing the organizer around a week
I started with the object the user would handle: a circular organizer divided into seven radial compartments. Giving each day a dedicated physical section made the interaction direct. When a reminder is active, one of seven LEDs points to the matching day instead of asking the user to interpret a menu or remember where the medication was stored.
The enclosure was modeled as a multi-part SolidWorks assembly. The section view made it possible to inspect the compartment geometry and the lower cavity available for later electronics integration before committing to a print. The repository includes the native SolidWorks files and a portable STEP assembly.

Assembly render. Seven wedge-shaped compartments arrange a full week around the center of the enclosure.

Section view. Separating the medication tray from the lower cavity created a path toward housing the controller, power system, and wiring in the final assembly.
The first printed enclosure turned the CAD model into something I could assess by hand. It confirmed the radial layout and exposed the practical questions that only appear in a physical prototype, including label visibility, access to each compartment, and the space available for integration.

First print. The weekday labels connect the firmware's seven outputs to the physical organizer.
Building the reminder system
An ESP32 coordinates the prototype. A DS1302 real-time clock supplies the day and time, a 16x2 I2C LCD explains the current state, seven LEDs identify the active compartment, and a passive buzzer adds an audible prompt. A push button gives the user one clear action: acknowledge the dose and silence the reminder.
I assigned each peripheral before integration so that the LCD, clock, seven indicators, buzzer, and button could coexist on the ESP32. The resulting pin map keeps the hardware contract next to the firmware.

System wiring plan. The diagram brings the inputs and outputs together around the ESP32 before enclosure integration.
Rather than wire the entire system at once, I brought up one subsystem at a time: USB power, LEDs, buzzer, button, real-time clock, and finally the LCD. Small Arduino sketches in the component test suite made faults easier to isolate than debugging the full system as one circuit.

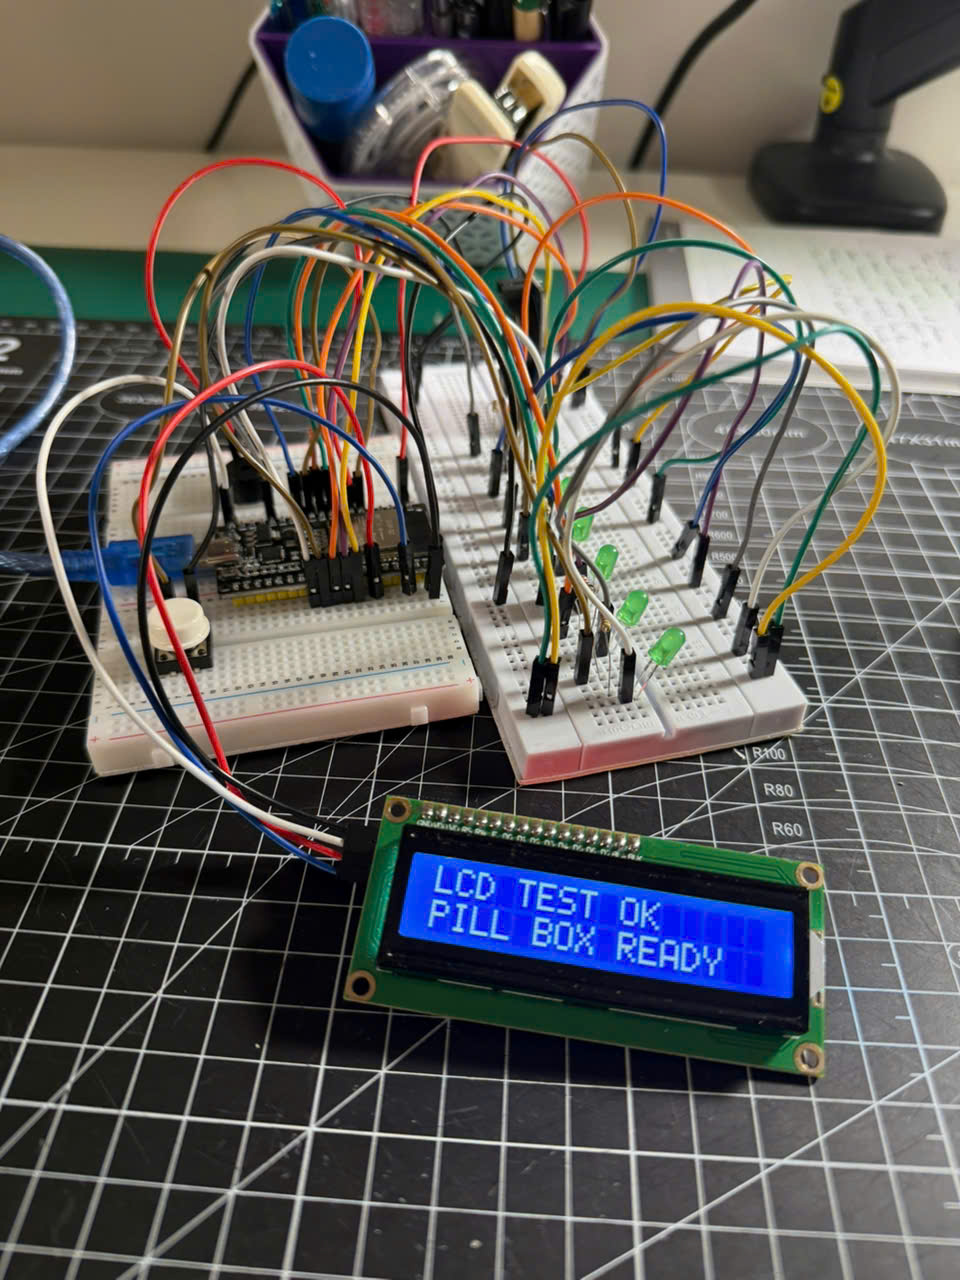
Breadboard integration. The controller, display, and day indicators share one bench prototype before being packaged into the enclosure.

Display test. A dedicated sketch verifies I2C communication and the two-line status interface independently.

Indicator test. Exercising each output separately verified the mapping between firmware and the seven physical days.
Turning a schedule into a clear interaction
The main ESP32 firmware models three daily doses: morning, noon, and night. Each entry contains a time, label, and tablet count. The control loop reads the clock, checks the current day and minute against that schedule, and tracks which doses have already been acknowledged.
At a scheduled time, the interaction moves through four states:
- The LCD shows the dose and tablet count.
- The LED for the current weekday turns on immediately.
- After a short visual-only period, the buzzer begins pulsing until the reminder is acknowledged.
- Pressing the button stops both outputs and marks that dose as taken for the current session.
The buzzer and display refresh use millis()-based timing rather than long blocking delays. That lets the controller continue checking the button and updating the interface while the alarm is active. I also created a compressed 20-second demonstration to test the complete countdown, alarm, and confirmation journey without waiting for a real medication time.
What the prototype proved
The project reached a working interaction prototype supported by a printed organizer, breadboard electronics, component-level test sketches, and integrated reminder firmware. It demonstrated that a scheduled event could select the correct day, communicate the dose on the LCD, attract attention through light and sound, and record a button acknowledgement.
It also established the next engineering priorities. The acknowledgement record currently lives in RAM, so persistent storage is needed before the device can retain dose history across a restart. The schedule is compiled into the firmware and should become configurable. Full integration still requires packaging the electronics and proposed battery-charging hardware inside the enclosure, then validating usability and reliability with the assembled device.
The most important outcome was a repeatable path from a human need to a physical interaction: organize medication by day, make the next action unmistakable, and confirm that the reminder has been handled. Explore the complete source, CAD, and documentation on GitHub.